| Revell 17cm Kanone 18 in 1/72 |
| Started: sometime during 2011 Finished: May / 2013 |
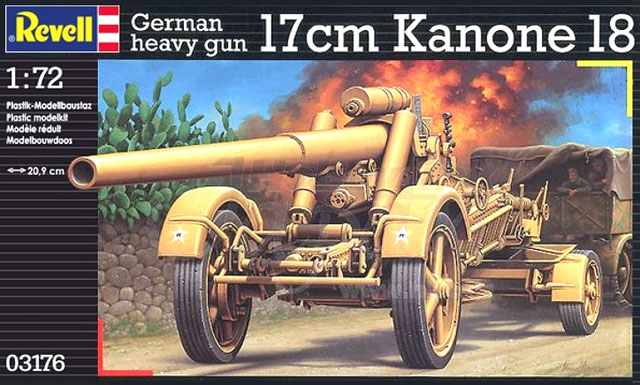
I had the honor of being patron of the Engineering Mechanics class of 2011 of UFRGS, where I work. Besides the honor, the class gifted me with three remarkable souvenirs: a S.E. Palmeiras shirt, a bottle of Jack Daniels, and a model kit. This is the model, a Revell Kanone 18 in e/72 scale:
And
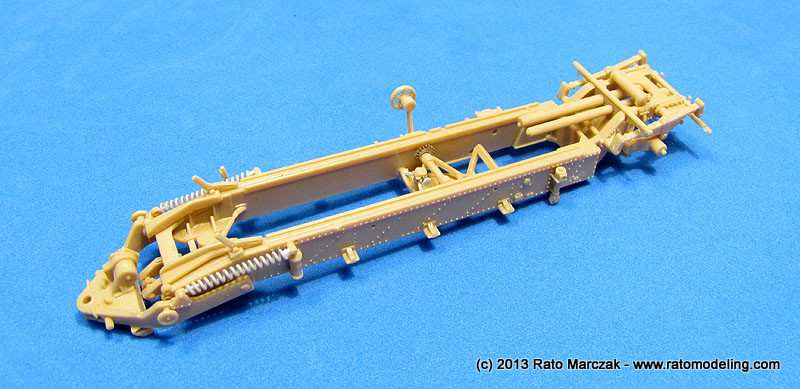
so I proceeded with the removal of all major parts from the sprues. I
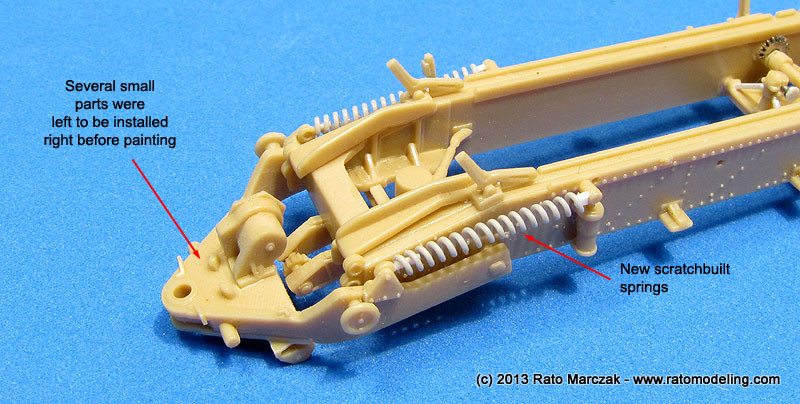
intentionally left those small parts that could be glued afterwards to
avoid breaking them during the process. And believe me, there are quite
a few of them.
I started removing some parts
from the sprues a few weeks after receiving it, then I halted the
project to finish other ongoing projects. After realizing the I had
Trumpeter Famo in my stash, along with my Sd.Kfz.253 project halted a
long time ago, plus several options for village and farm houses, I
started to plan a new diorama. I won't reveal it now, let me stick with
Revell's Kanone 18 here. It is a wonderful kit, very detailed and
engineered for the most part. Although I've been building some armor
models in 1/72 from times to times, this one really impressed me for
the quality of the moldings, rivets, and detailed subassemblies. The
kit can be posed in firing or transport configurations, and rivals many
old kits in 1/35 scale.
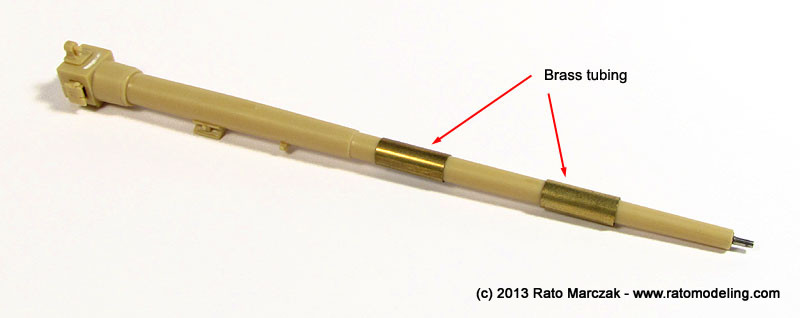
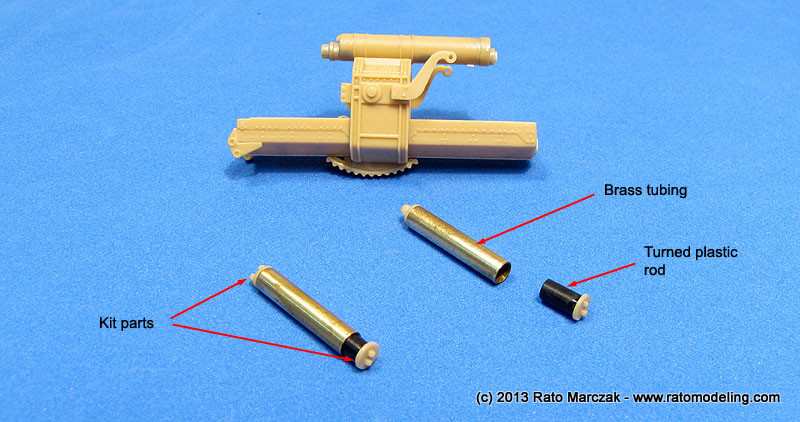
Anyway, back to the kit, I started gluing the cannon barrel. I know there's this insane trend for metal barrels, but honestly folks, if there is nothing wrong with the kit parts, and you are probably going to paint the model anyway, why to replace them? I know there are nasty examples out there, but this was not the case. I used pieces of brass tubing to keep a perfect alignment of the barrel halves while the glue dried, and it worked like a charm:
Anyway, back to the kit, I started gluing the cannon barrel. I know there's this insane trend for metal barrels, but honestly folks, if there is nothing wrong with the kit parts, and you are probably going to paint the model anyway, why to replace them? I know there are nasty examples out there, but this was not the case. I used pieces of brass tubing to keep a perfect alignment of the barrel halves while the glue dried, and it worked like a charm:
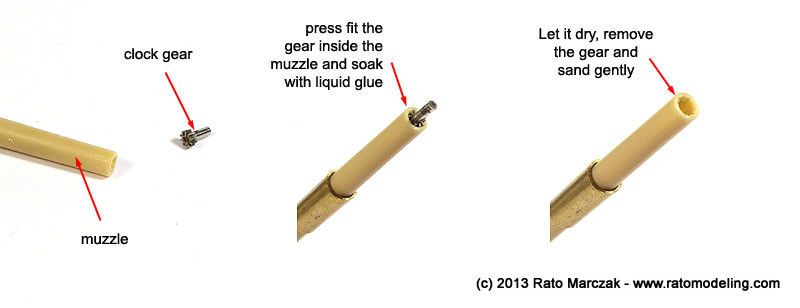
Once dry, I devised a method to try to simulate the barrel grooves. First, I had to sort
through my spare parts box for a clock gear with a diameter slightly
larger than the internal diameter of the barrel. Using lots of liquid
glue, the gear was press fitted inside the barrel. The pressure and the
liquid glue allowed the gear teeth to make visible impressions in the
barrel. Once the glue was dry, the gear was removed leaving a
reasonable rendition of the grooves (I know they should be helical, but
then you are asking for too much):
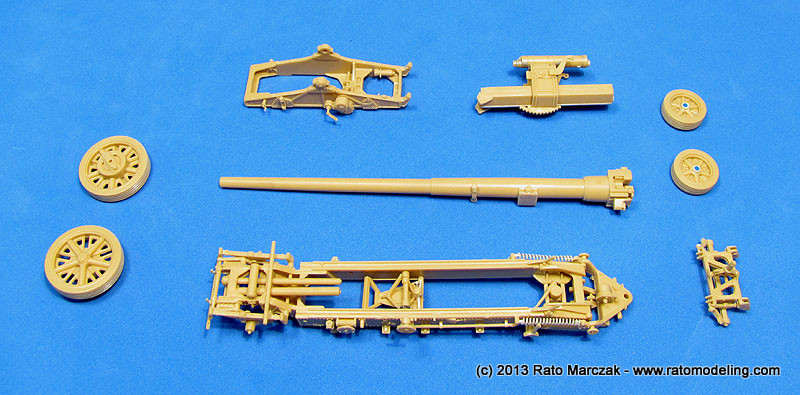
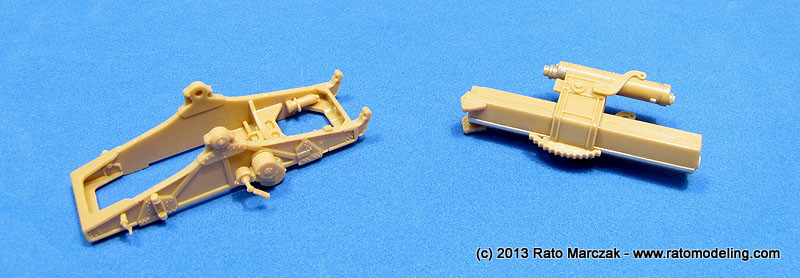
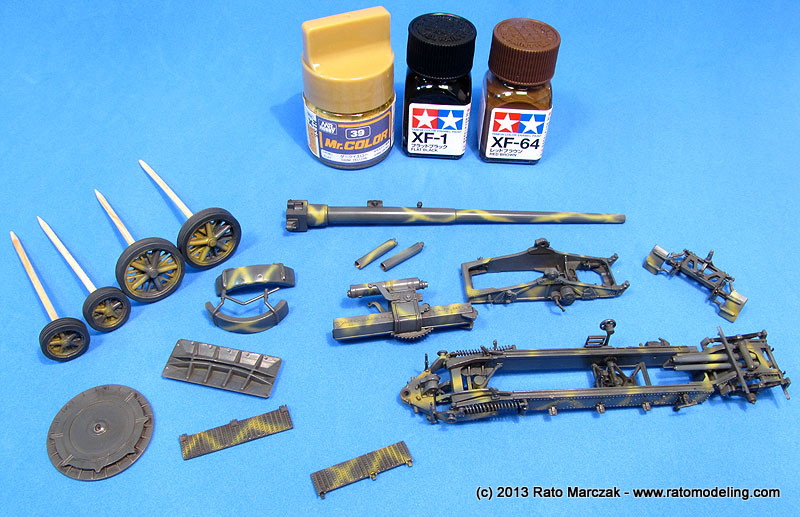
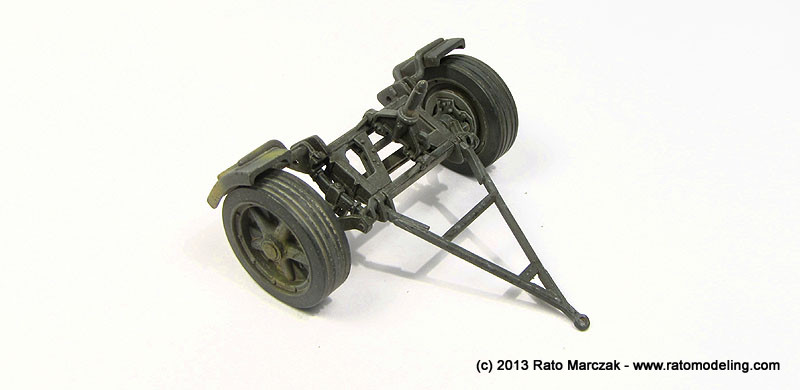
I deviated from the instructions sequence to allow the build by sub-assemblies. Essentially they are the carriage/elevating structure, cradle + recuperating cylinder, trail/chassi, barrel + breechblock, wheels, firing platforms, towing bogie, plus several details associated to elevating mechanism, suspension and aiming:
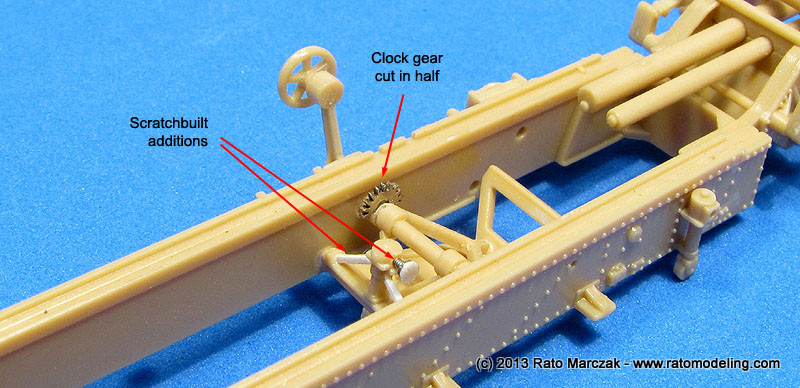
As I mentioned before, the kit is well detailed. I added a few extras, though. The firing platform mechanism received a gear and some scratchbuilt details made of plastic rod/card. The springs which locked the towing end in either firing or driving position were limited to what an injected part could provide, so I replaced them by new ones made of stretched sprue, using a variation of the technique described in an earlier article. They look way better:
The parts for the elevating cylinders are provided for firing and driving positions as well. They are not well molded, so I replaced them by pieces of brass tubing for the cylinder shells and a length of plastic rod turned to fit inside the tubing as the pistons. This way, I could slide the pistons to the correct position when the time to cement them in place came. The ends of the cylinders are the kit parts sliced and butt jointed to the ends of the cylinder assembly. This simple measure not only allowed me to adjust the correct position of the piston inside the cylinder later on, but also gave me freedom to paint/weather the pistons separately. Had I followed the instructinons, it would be impossible to reach all areas of the cylinders later during the weathering step.
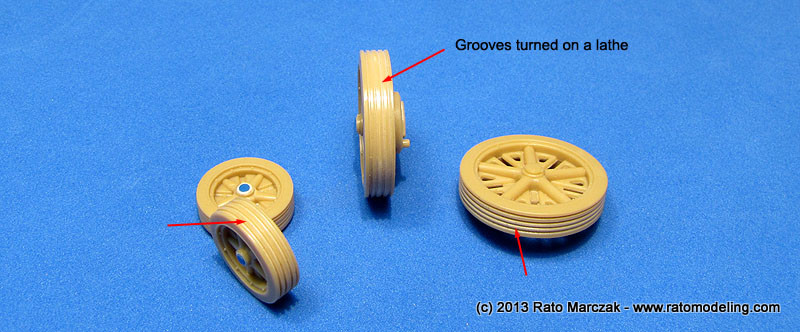
The wheels are well molded, but the characteristic grooves used by Wehrmatch towed equipment were poorly molded. This is understandable, as it would be impossible to eject them from the mold, so I scribed new, deeper grooves using my lathe:
The fenders were damaged using a round drill bit and files to simulate bents & dents. With all subassemblies ready, they were primed and checked for flaws. Before starting to airbrush the camouflage colors, I brush painted Vallejo dark gray in all small cavities and crevices where I doubted the airbrush spray would reach later. This helped to assure that no spot would be left without paint.
Next I applied a coat of Dark Gray automotive lacquer over all parts. Once dry, squiggles of Mr.Color Dark Yellow (#39) lacquer was randomly applied with a Grex Genesis XN airbrush. My idea was to depict a factory applied dark gray gun which was camouflaged with dark yellow in the field. The rubber areas of the weels were hand painted with a dark gray mix of Vallejo colors.
Once everything was dry, I applied a coat of Testors Dullcote because I wanted to test the application of weathering over a flat finish, instead of a gloss one. So I proceeded with a pin wash of Tamiya black and brown enamels, just to discover that Dullcote is not a lacquer!!! Therefore - attention modelers: Dullcote will not withstand mineral spirits washes. So I airbrushed a light coat of Gunze's Mr.Hobby sating gloss and continued with the washes.
1. Main camouflage colors.
2. Satin varnish.
3. Pin wash.
4. Flat finish.
5. Dry-brushing using a lightened mix of the base colors..
6. Paint chipping and scratching using paint/sponge method and pencils.
7. Metalic effects using Humbrol Polished Steel and graphite pencil.
8. General dusting using Floquil Dust (only on lower areas)
9. Dust/mud effects with pigments (mostly under the trail, firing platforms and wheels).
10. Oil, grease and leaking effects (not done yet in the pictures below)
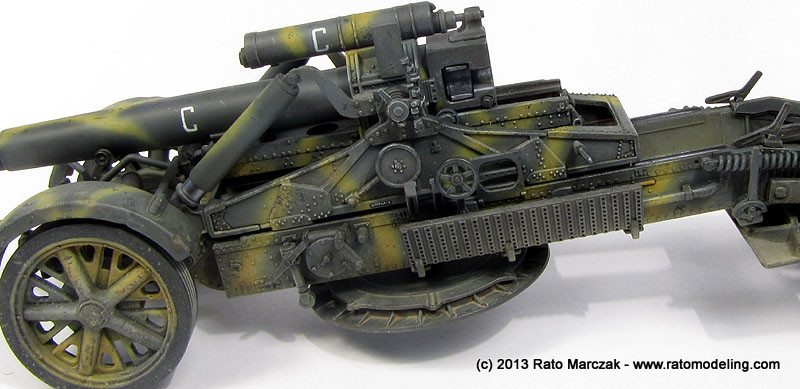
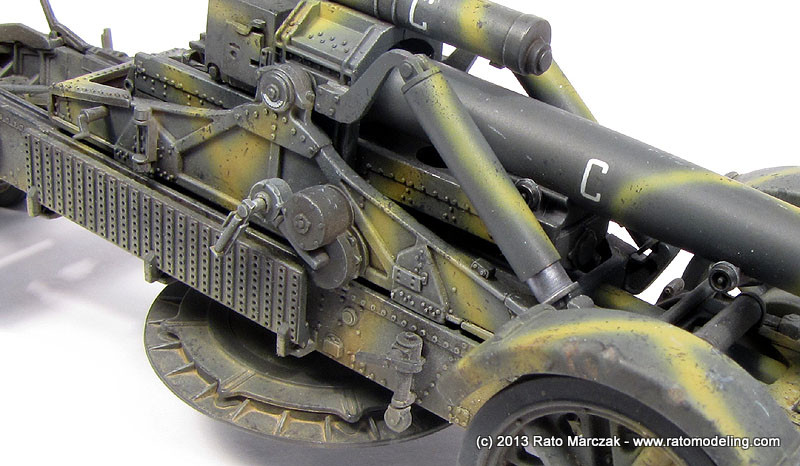
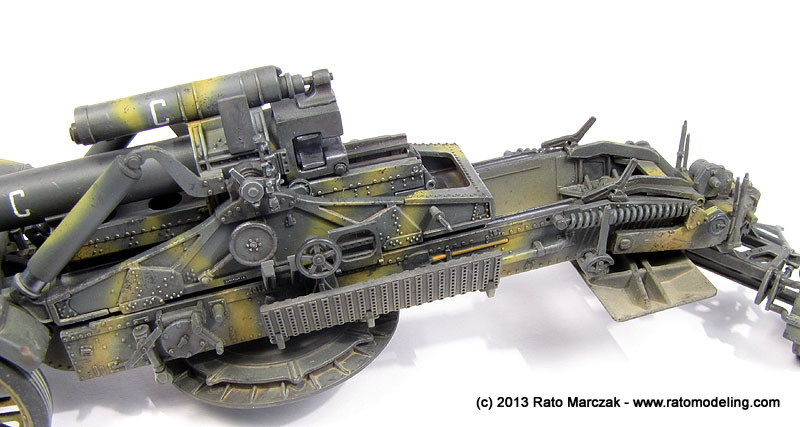
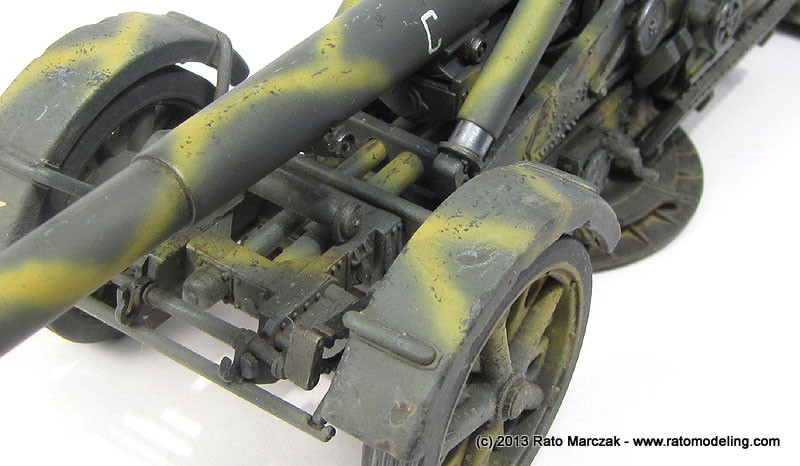
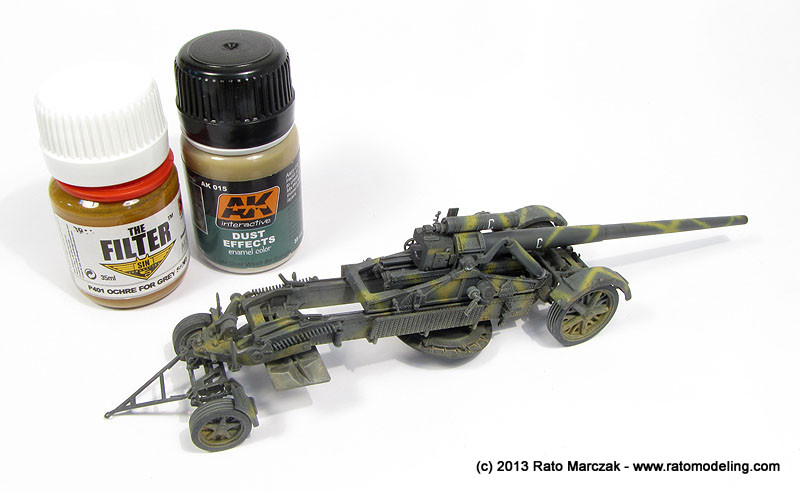
As you see, I played more heavily on the dusting along the areas closer to the ground. Of course, the weels and the firing platforms received a more pronounced effect. Sliding parts were treated with Humbrol Polished Steel to simulate, well, polished steel and freshly chipped paint. I also blowed diluted earth colored pigments from a loaded brush on the underside and selected areas to simulate splashed mud/water.
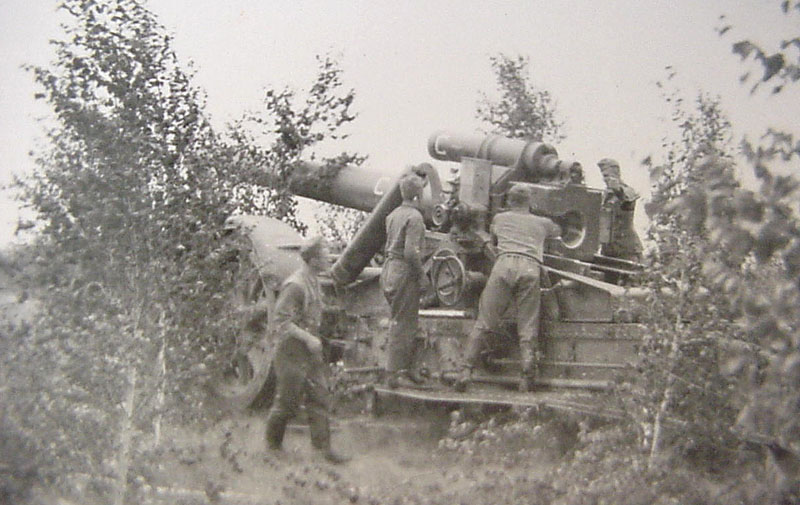
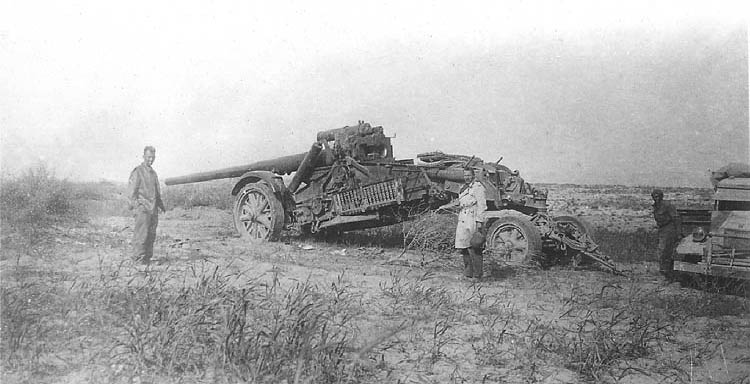
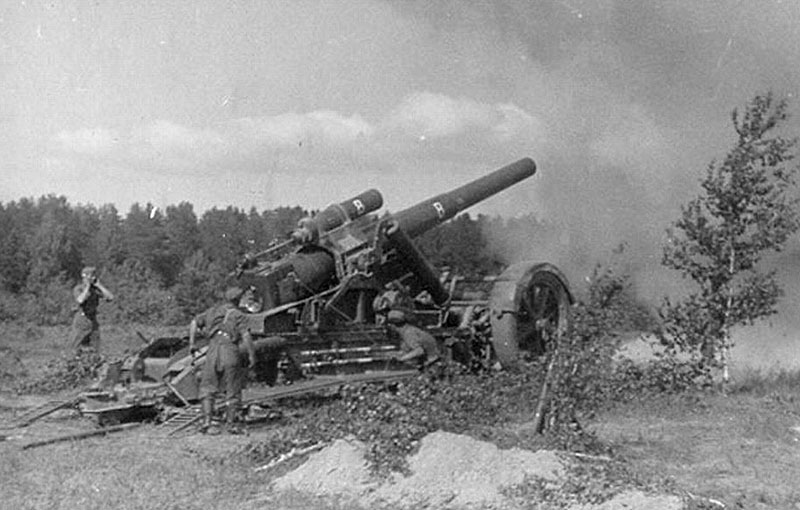
Some inspiration photos:
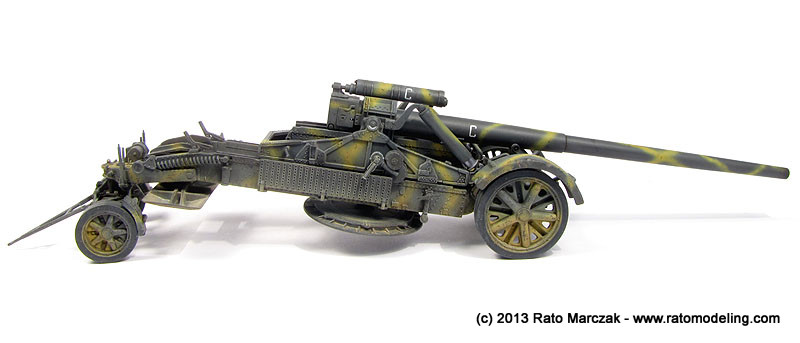
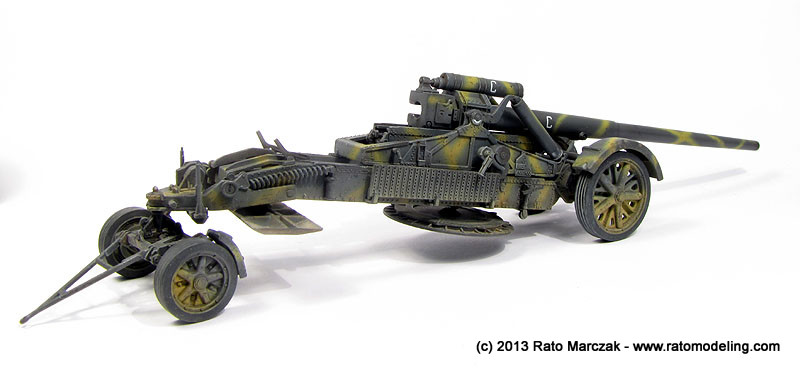
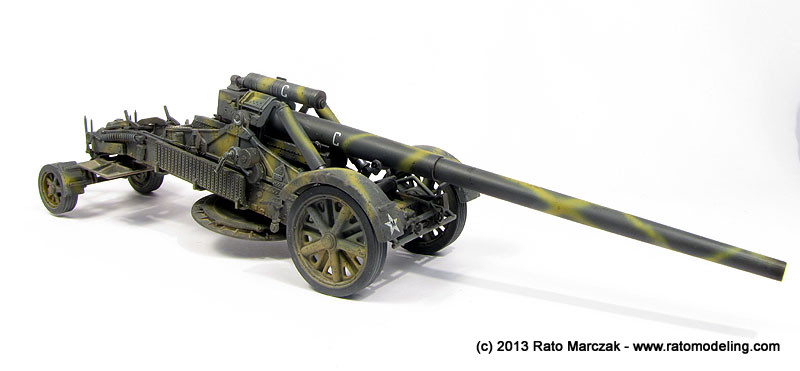
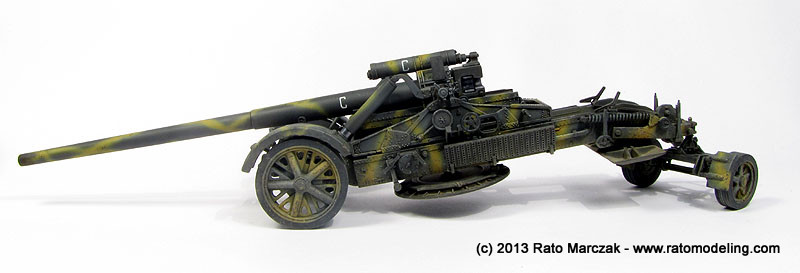
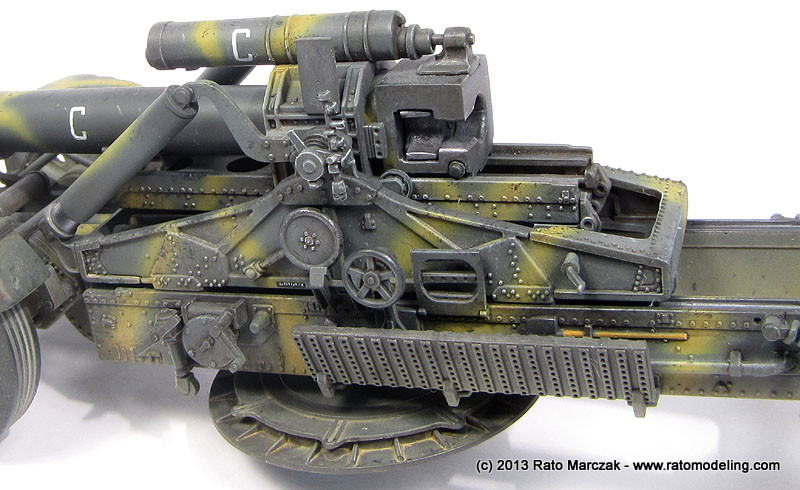
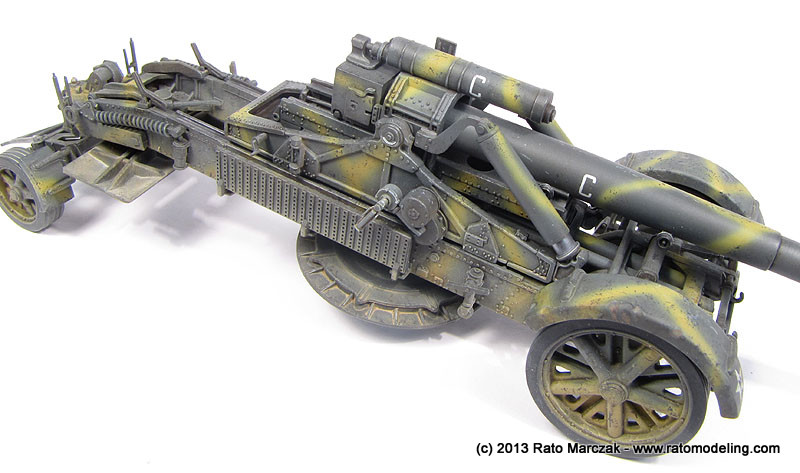
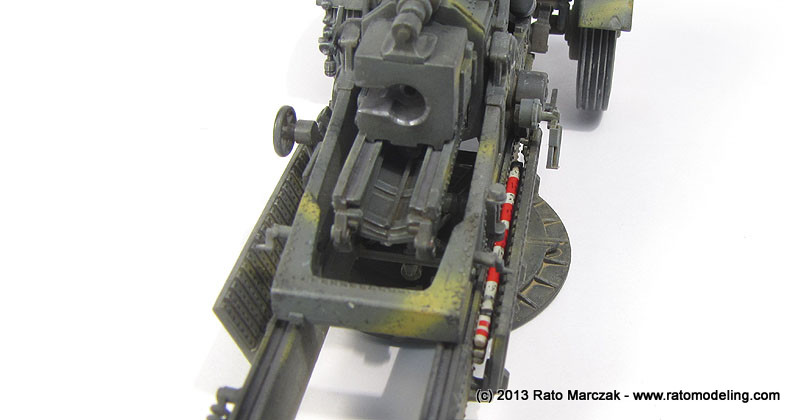
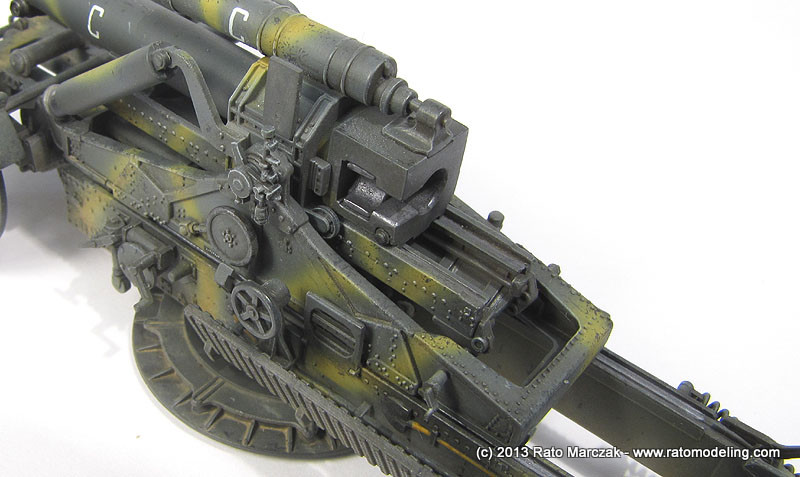
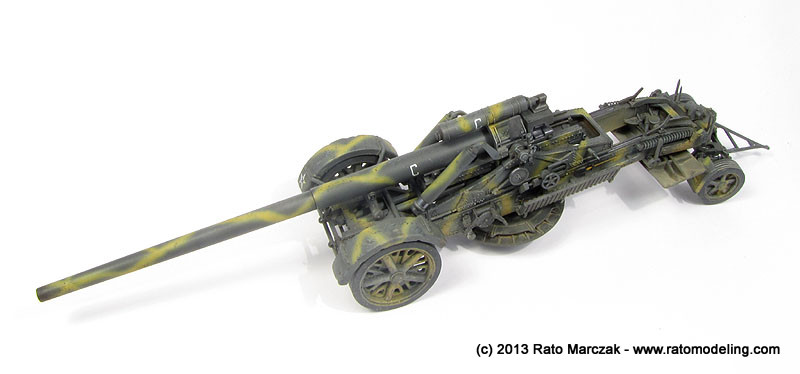
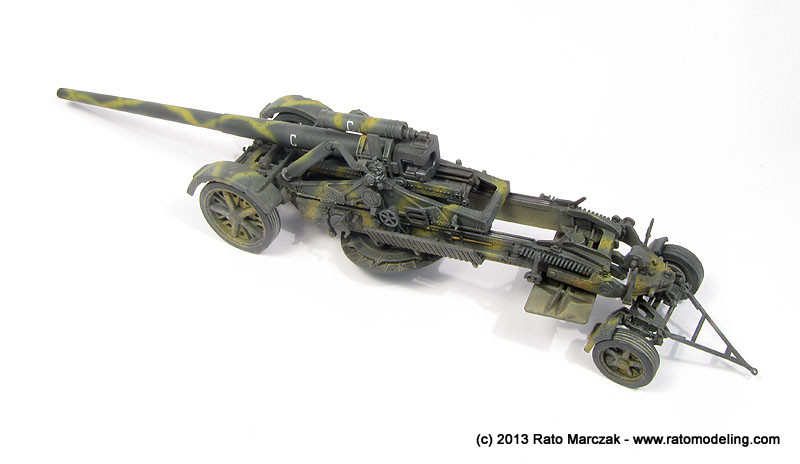
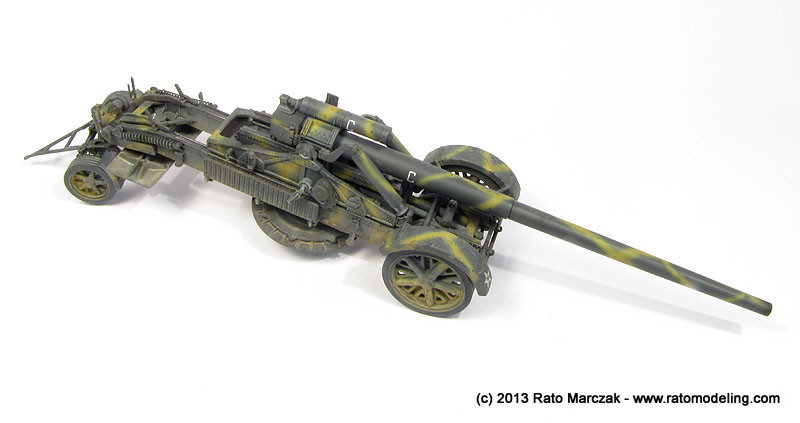
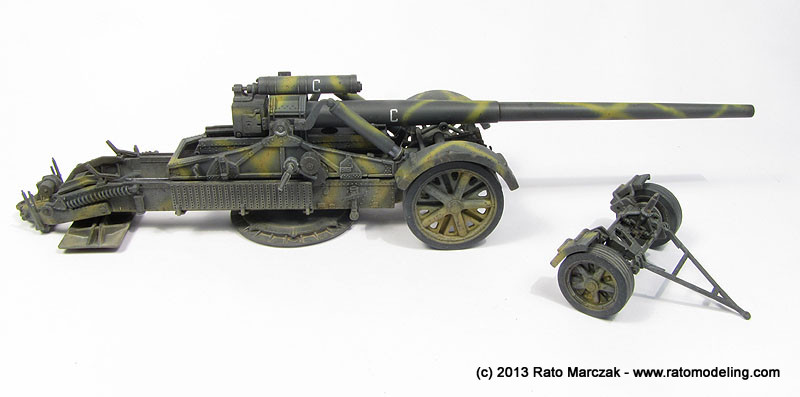
And that was it. Here are some pictures of the finished Kanone:
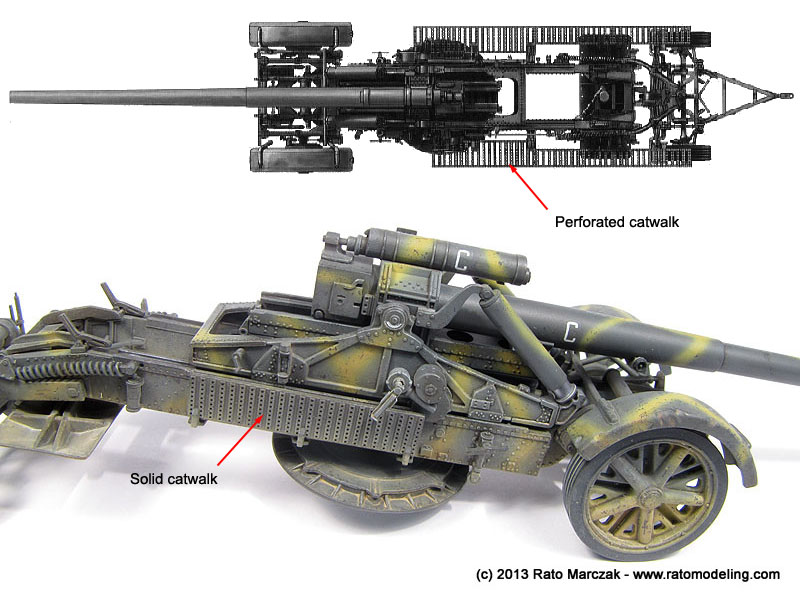
As I said, the moded details in this kit rivals some 1/35 offerings out there. Maybe the only really visible problem are the catwalks, which are molded solid when they should be perforated. Photoetched items would help here:
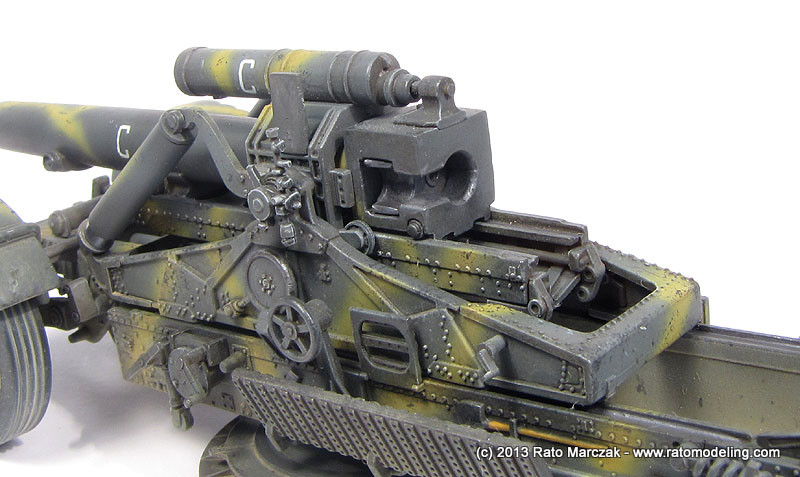
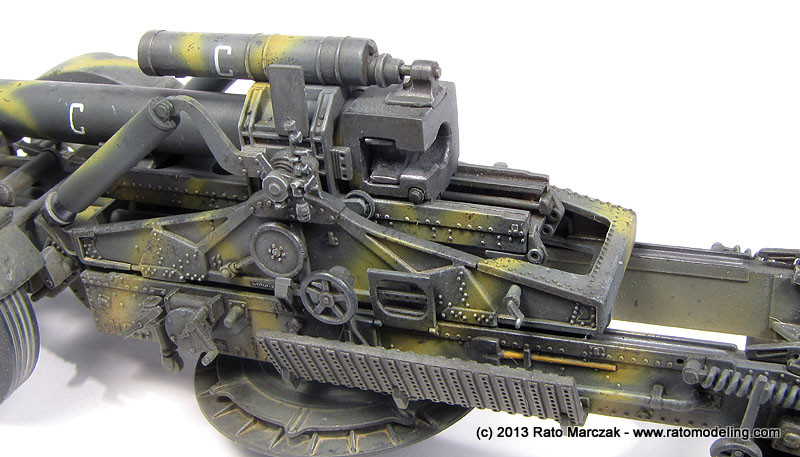
Some detail shots:
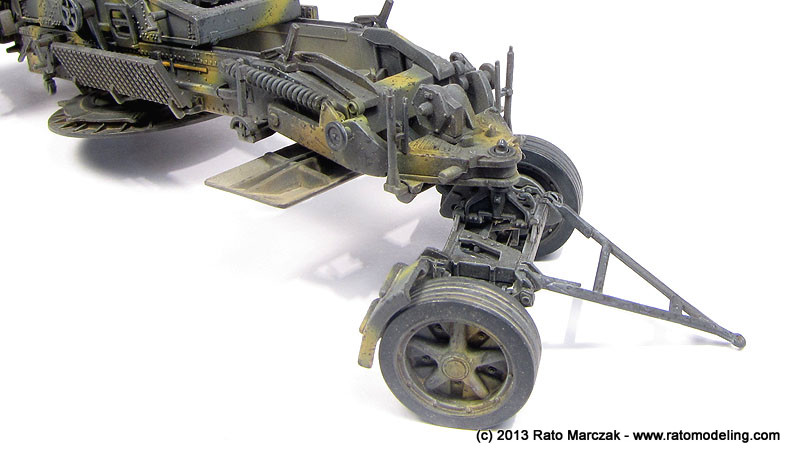
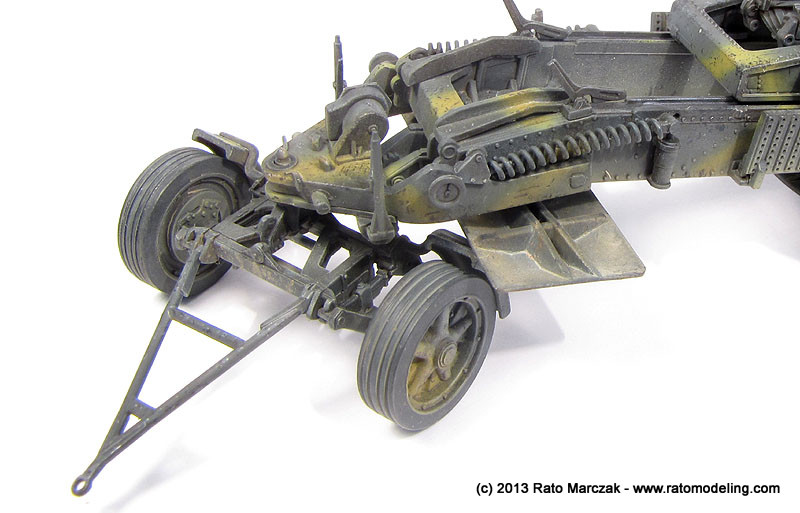
There are a few things still to do, but I'll leave them for later on, when the diorama is in more advanced stage.
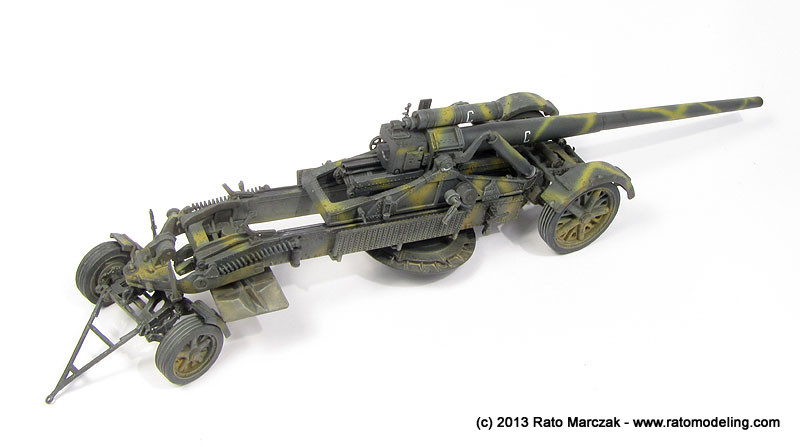
Fire away!
| Technical file | |
| Kit:
|
- Revell #03176 |
| Additions:
|
- None |
| Basic
colors: |
-
Primer: Acrylic automotive primer - Panzer Gray: Aerotech automotive lacquer. - Metalic finish: Humbrol Polished Steel enamel (#27003) - Dark Yellow: GSI Creos Mr.Color lacquer Dark Yellow (#39) - Flat cloat: Testors Dullcote Lacquer (#1160) and GSI Creos Hobby Color Flat Clear (H20) |
| Notes: |
- |
Rato Marczak © 2013
