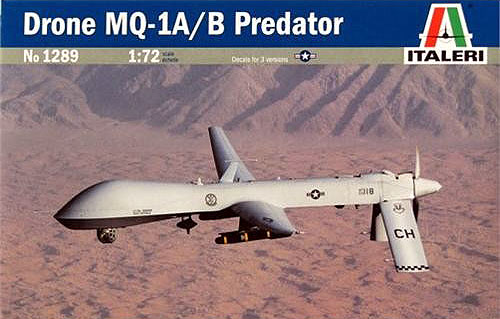
| Italeri / Platz MQ-1A/B Predator drone in 1/72 |
| Started: October / 2012 Finished: November / 2012 |
Alright,
a quickie! Some time ago I decided to start bulding a few modern
aircraft, or at least jets, it not exactly modern. But when looking at
my stash I found something really modern, a MQ-1 Predator in 1/72
scale. This particular model was first released by Platz and reboxed by
Italeri. I thought it would be a good example of what air warfare is
becoming, and would be an interesting item in my collection.
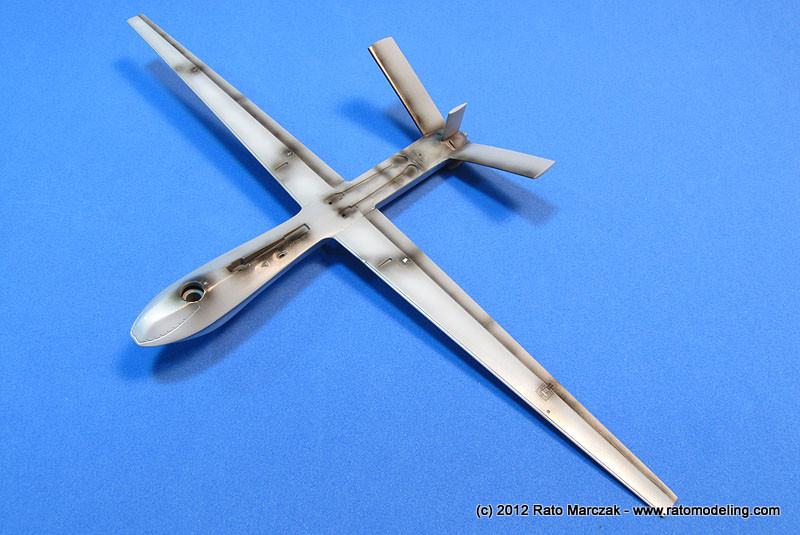
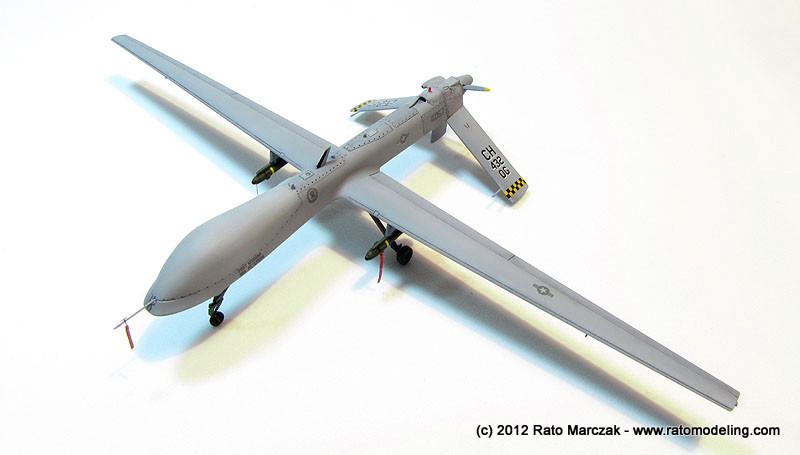
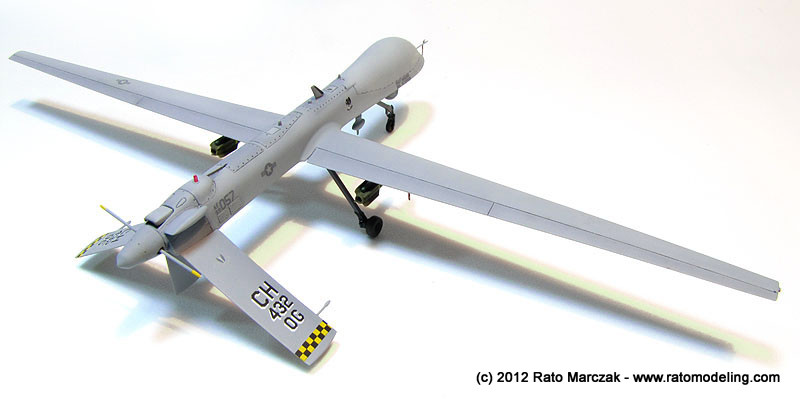
Once the pre-shading was dry, I applied the main color. Since I was short of Light Ghost Gray, I used a mix of Testors Model Master Dark Ghost Gray - FS36320 (#1741) and white. The main color was applied very thin, trying to preserve the pre-shading as much as possible. 48 hours later a good coat of gloss automotive clear lacquer was shot in preparation for the decals. I used the kit decals, which performed well. A couple of silvering spots were solved by slicing them with a sharp blade and applying generous amounts of Micro-Sol.
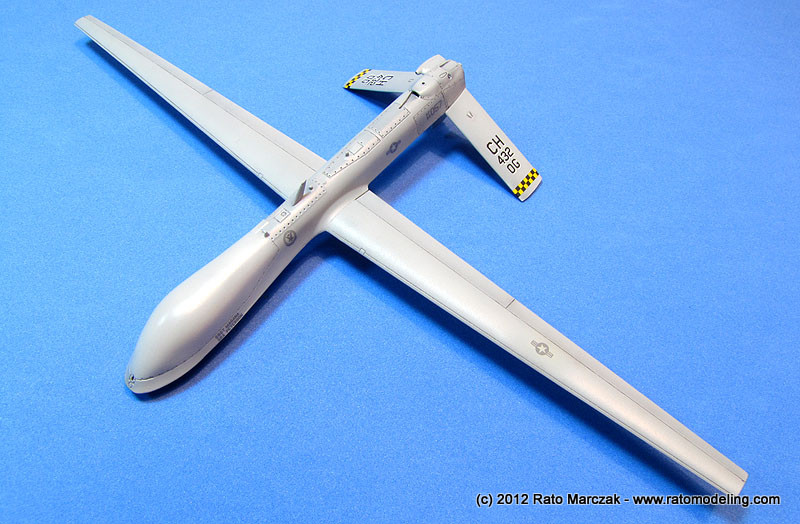
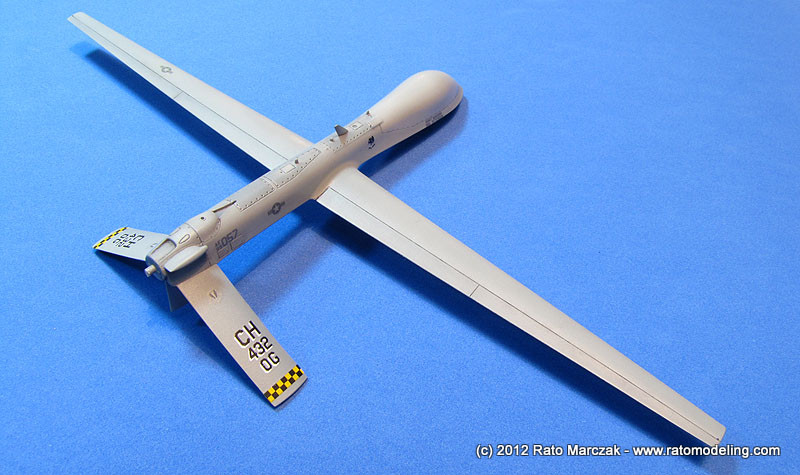
The kit is very simple, with a
dozen or so parts. Assembly of main parts went on very smoothly, with
only a few spots needing some filler. I purposely removed the antenas
from the stabilizers, afterall I would break them sooner or later.
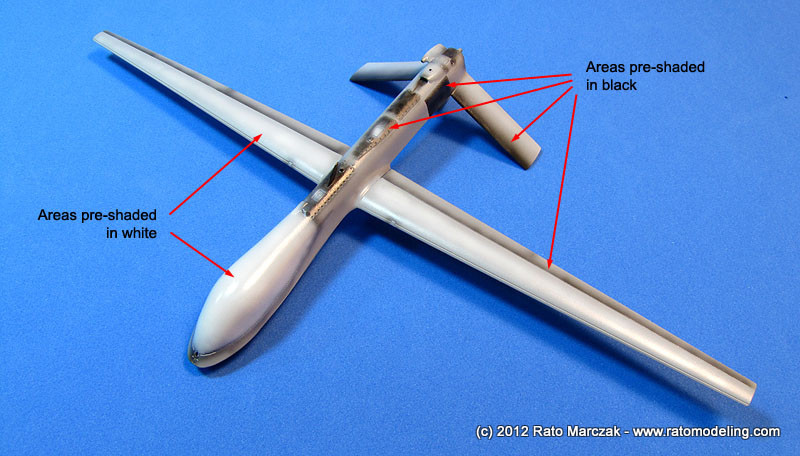
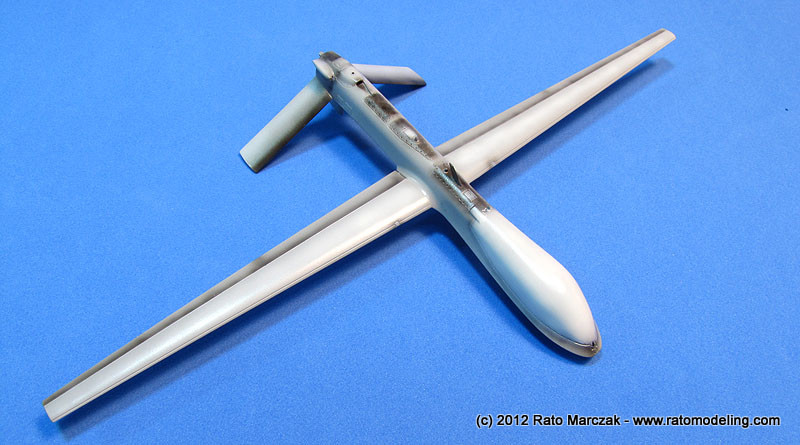
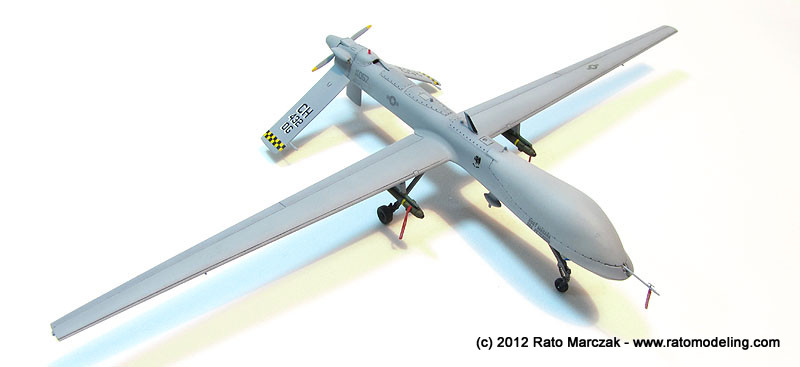
After priming the model, I started pre-shading and decided to play a
bit with modulation. This was done after studying several photos of
actual Predators which showed distinctive tonal variations of the basic
Light Ghost Gray. Therefore, I used black on the engine area, leading
edge of the stabilizers and along the wheel bays. I also used black
along the leading edge of the ailerons and flaps, masked with the aid
of post-it notes. White paint was used basically on the instruments
area and along the top of the main wings.
Once the pre-shading was dry, I applied the main color. Since I was short of Light Ghost Gray, I used a mix of Testors Model Master Dark Ghost Gray - FS36320 (#1741) and white. The main color was applied very thin, trying to preserve the pre-shading as much as possible. 48 hours later a good coat of gloss automotive clear lacquer was shot in preparation for the decals. I used the kit decals, which performed well. A couple of silvering spots were solved by slicing them with a sharp blade and applying generous amounts of Micro-Sol.
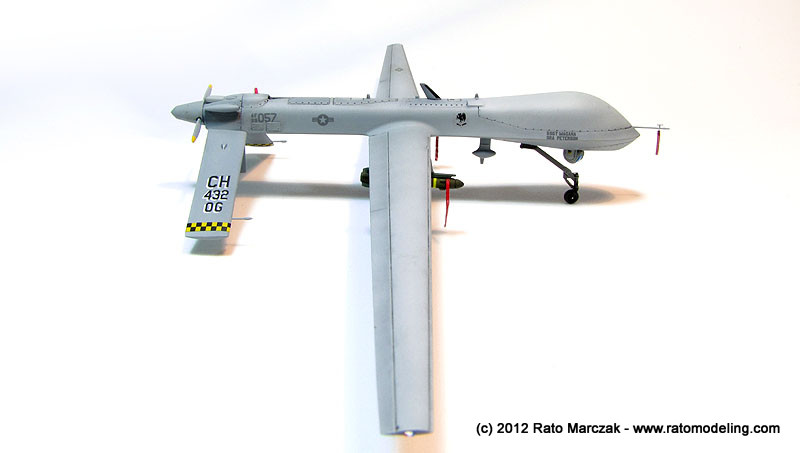
I'm satisfied with the final color, but I could have added more white the the mix, because the squadron markings almost disappeared over my color interpretation. The modulation worked fine, so I sealed the decals with more clear lacquer and proceeded to the oils wash along control surfaces and access panels. I also removed the beacon light to make a new one later, and drilled a small opening for what I assume is an engine vent on the upper port side of the rear fuselage.
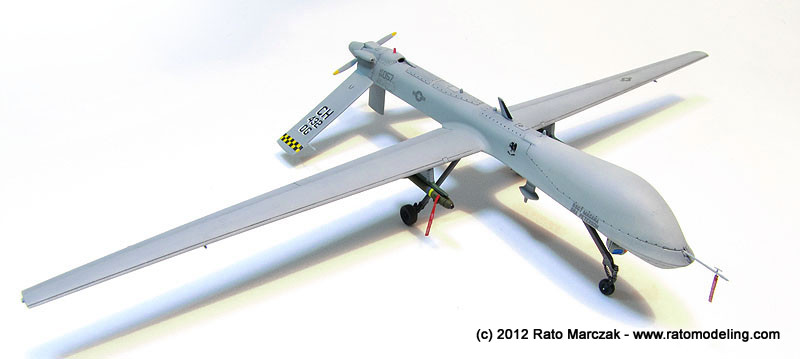
The model was coated with two thin coats of Testors Dullcote, and I started to work on the smaller parts. First were the AGM-114 Hellfire missiles, painted with dark olive drab and decorated with left over yellow decal trims. I also painted their pylons with the Predator camouflage color, but decorated the rails with another shade of OD. They were glued and set aside while I started to work on the landing gear.
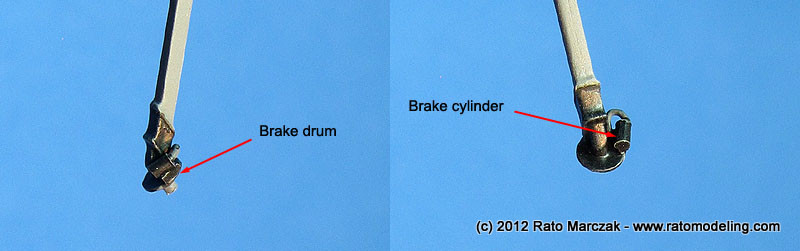
The main landing gear legs are well molded, but lack the brake accessories, so I added a small brake drum and cylinder to each strut.
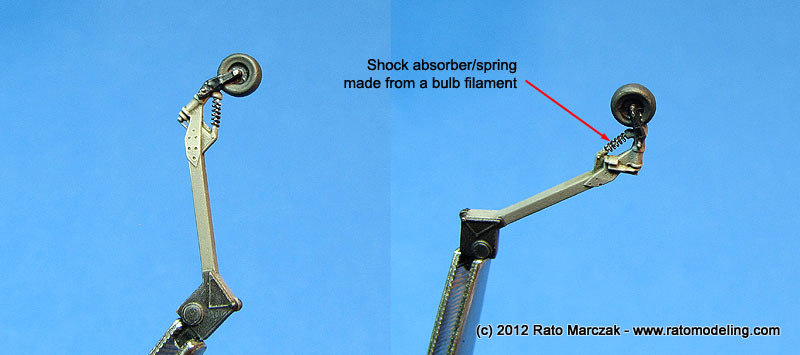
The nose landing gear is molded in a single piece, and after thinking a long time about what to do, I opted for leave it this way. I, however, removed the shock absorber and replaced it by a small length of hypodermic needle inside a section of a light bulb filament. That really added a lot of realism to an otherwise plain part. Some rivets were also embossed and the part was painted using black and dark gray, following what I saw in the photos. I could have used a darker shade of gray, though:
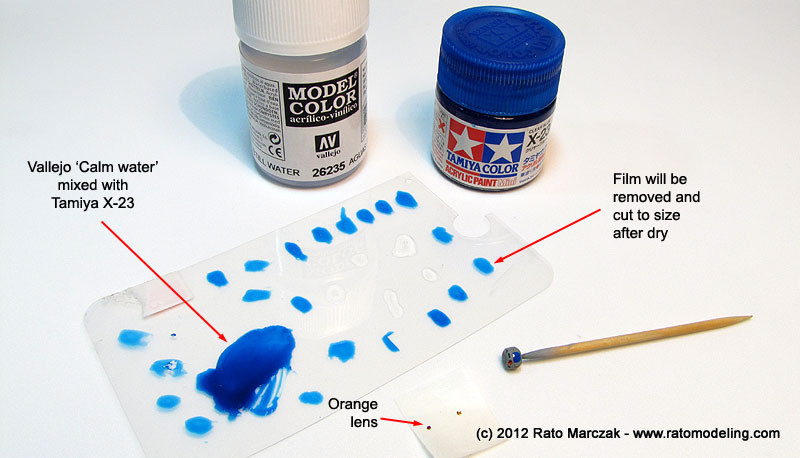
Wheel hub caps were painted with semi-gloss black, and the tires carefully painted using the late Aeromaster Tire Black color. The next challenge was how to make a decent representation of the MTS-A turret under the fuselage. The kit's intructions call for the installation of it before glueing the fuselage upper and lower halves, but I shoved off the rim around the turret support to mount it afterwards. Both the support and the globe recieved placards from left over decals. The lenses on the turret were more complicated. I ended up using three different recipes to simulate them. A small round sepia colored lens was obtained simply by applying a small drop of Tamiya Smoke X-19. The larger, round camera was reproduced by punching a small disk of Aluminum foil and painting it with Tamiya Clear Orange X-26, and glueing it to the globe. The larger, rectangular camera lens was simulalted by mixing Vallejo Sill Water (a diorama product) with Tamiya Clear Blue X-23 to tint it. The mix was spread on a piece of plastic and left to dry overnight, then cut to size and glued to its slot. It worked like a charm, but I wished a more purple hint in it. There sould be a few other smaller optical devices, but I declared my MTS-A interpretation done, considering the scale.
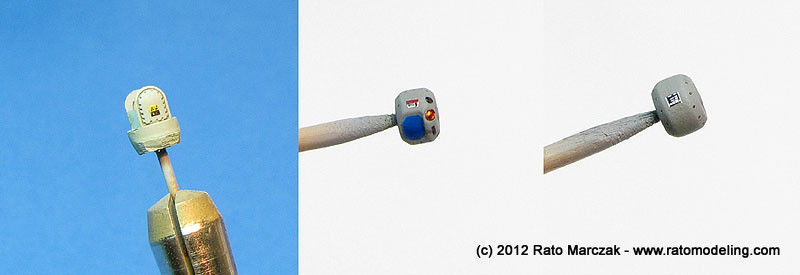
The camera globe was glued to its support and the assembly installed in the opening under the fuselage.
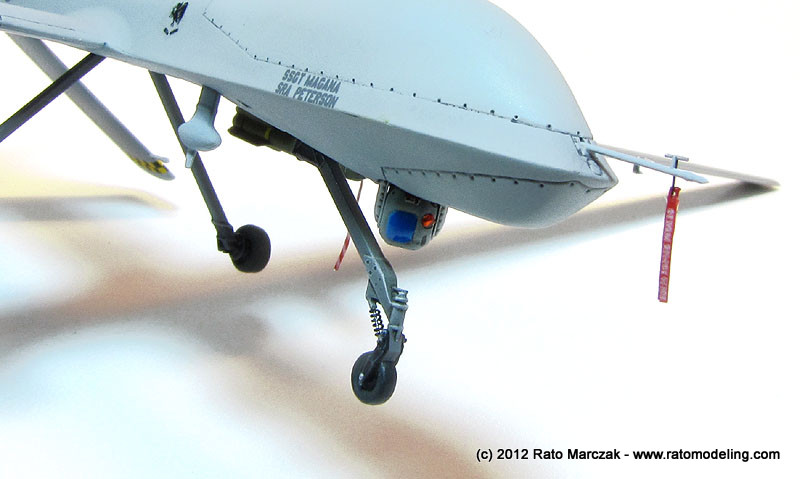
I also scratchbuilt the navigation lights and installed them on the wingtips, but forgot to take picutres. The beacon light was made from a piece of stretched clear red sprue, and a small pipe was intalled on the engine vent opening I make before. The small fin on the upper fuselage received a small piece of black decal along its leading edge to simulate the de-icing boot. I spent some time making RBF tags using an old Reheat Models photoetched set. I made only three of them, but the real thing would use many more:

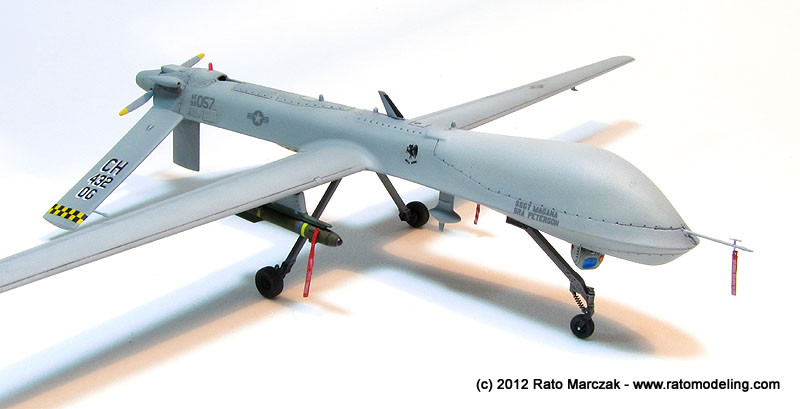
The Hellfires were cemented in place and, after glueing the landing gear, it was declared done:
Some of my friends didn't like it 'because it is not an aircraft'. Well, wait some years and let's see what will be called a military aircraft... Anyway, it was a fun and fast project.
| Technical file | |
| Kit:
|
-
Italeri #1282 |
| Additions:
|
-
Reheat Models 1/72 Scale RBF Tags, product #RH127. |
| Basic
colors: |
-
Primer: Acrylic automotive primer - Light Ghost Gray (FS36320): 1:1 mix of Testors Model Master Dark Ghost Gray #1741 and white enamels. - Gloss cloat: automotive clear lacquer - Flat cloat: Testors Dullcote Lacquer (#1160) |
| Notes: |
-
Several details scratchbuilt (see text). |
Rato Marczak © 2012
